Search This Blog

Friday, March 25, 2016

Sullivan Ave

I've started on a new module, I'm calling it Sullivan Avenue. It is only 2 feet long but 30 inches wide.
This little module will help me when using the waterfront module, and since I have most of the structures already constructed I decided to go ahead with the scenery. This will also be a nice diversion from the intense industrial scenery I've been working on for the last few years.

I asked my friend Joe Balint to build a wye switch with the track on this small module. Joe likes to use galvanized wood screws for soldering the rail at the edge of the module.


As you can see in the photo, the screw heads are quite obvious and will be a challenge to hide.


To help make the screw heads harder to see I cut away most of them as close to the rails as possible. Damaging the rail would be bad, so I had to limit how close I got with a cutting wheel on the Dremel.
I will add wood ties cut to fit around the remains of the screw heads to further hide them.


Next is the gluing of additional layers of insulation board. I like to use adhesive latex caulk for this.
Here the ties have been painted and I've even begun shaping some of the foam for where the roads will be located.


Another view from the front of the scene. There will be a road approaching from the left, intersecting the road that goes from the front edge to the back.


Here is a better view of what I'm trying to create. The main road that travels to the back of the scene will climb a short slope once it crosses the railroad, and curve to the right.


A birds eye view of our main road "Sullivan Ave". The cardboard square on the left, up the hill is the footprint for a RIX house kit that I want to place in that area. At this point I am also trying to resolve the parking lot arrangement for the diner. All to often modelers create parking areas (if at all) for businesses that are way to small. The end result the the scene look like a toy. If I can't make the diner and its parking layout in a believable way then it goes somewhere else.


Here is the house located further to the back with room for a driveway. This layout for the diner works better. It is not ideal but it is believable. the truck helps provide perspective on the necessary size of the parking area. Sullivan Ave also has been cut into the hillside and the drainage ditches along the railroad are also started.


The first coat of brown latex paint makes it easier to see the slope of the landform. I have the drainage ditches carved along the railroad and the driveway to the house has been cut into the hillside.


At this point I have glued down the thin plastic that will create the plug for the foundation of the gas station and the pump island. The foundation will fit down into the raised area.


Here is how it all fits. I will use Elmers wood filler to pave up to the plastic. Once it is painted and weathered, it will all blend in making the building look like it's mounted into the scene.


Paving of the asphalt areas has begun. I colored the wood filler with inexpensive gray acrylic paint. This way if it chips or cracks the light brown of the raw wood filler won't show.

Friday, April 3, 2015

Metro Concrete Company part VI

Well I forgot to take closeup photos of the storage silo so these images will have to do for now.
The image below shows the completed storage silo on the right with the mixing building on the left.
I placed the covered hoppers in the scene as a size reference.


I intend to add static grass to the green areas but because I haven't learned to use static grass yet I'll have to practice on something disposable first.


Sunday, March 15, 2015

Metro Concrete Company Part V weathering - step 1


I have been taking my time with the weathering on this structure because there is a lot of detail to add. While the age and material of the structure are important when deciding how to weather the structure, the location and what it is used for can also be very important. This model represents a steel silo for powered cement storage. It would be a couple a decades old and probably repainted only once but is located very near saltwater (the harbor). So rust will be the primary weathering feature. This silo has rivets and lots of them. Just about every rivet head will have some rust on it and many will be so rusty the paint is completely gone.


The rivet heads are the most tedious part of the weathering. I could probably spend months adding rust (2 colors) to each rivet head and then adding a small vertical rust streak going down from each rivet, but I would likely be insane when I finished. So this will have to be good enough. 


The next step will be using rust colored powders to blend the rusty areas, When these photos were taken; I had already begun using the powders at the very bottom of the silo. (look at the very bottom row of rivets) Rust blending along the remainder of the structure and cement dust is next.


Sunday, March 1, 2015

Metro Concrete Company part IV


I found nice decal stripes for locomotives and decided they would look good on the steel columns at the bottom of the structure.

I applied a little bit of a fade to the letters on this side.


I applied more of a fade on this side because it would face west by south west.


Wednesday, February 4, 2015

Metro Concrete Company part III

Progress on the cement storage silo. I managed to get the silo primed in time for the WGH show, so  it looked better than in raw plastic. Just after the show the weather cooperated and I was able to paint the silo white.


One the paint dried a couple of days I added the decals. I used some old 1/2" block gothic from Champ Decal company. (went out of business maybe 15+ years ago?)


Once the clear coat is dry I'll add a fade to the red letters. I'll use water-mixable oil paint applied with a hand brush to do the fade.
The results with be on the next post.


Sunday, February 1, 2015

Worlds Greatest Hobby on Tour

WGH came to Raleigh January 17,18 and The NC S&SS along with the Wilmington Railroad Museum were allocated a very large space for a layout. Many Thanks to Randy Bachman of WGH for allow us such a large space for a layout.

The space allocated was 150'x100', or 15,000 sf. The final footprint of the layout was actually 144'x90', but when you figure in that the crowd barriers are offset from the layout 3-4' in all directions, the total space used was essentially 150'x100'. The total mainline length was near 860' or about 14.5 scale miles. Unfortunately this was not a maximum size for the layout. There were a couple of members who were not able to attend or bring modules due to unforeseen circumstances, or scheduling conflicts. So about 100' of modules were not in the layout. Perhaps in November the layout will reach maximum size.

Here are some photos taken from a balcony.


Saturday, January 10, 2015

Metro Concrete Company Part II

Progress on the storage silo has been on the safety cage and ladder to the top of the silo. I used 2 Tichy kits to get to the top. This is the first time I've built the Tichy kit and it was more challenging than I had expected. I attached the cage loops to the ladders first and then attached the bottom ladder to the silo by drilling small holes for a couple of very fine wire loops to secure the ladder to the side. Next the first platform was located and holes drilled for the wires to attach it. Then the second ladder and platform. The vertical straps of the safety cage (3 for each ladder) was glue to the support loops. Not an easy task and they are not straight, but there is nothing I can do about it now. I think the problem is that the cage supports are not all attached perpendicular to the ladder. Something to think about....


The last leg of ladder has yet to be installed. That will come after I attach the silo top. The top will have a railing around the perimeter.
Next to do is top railing, some exterior lighting and final assembly then primer.


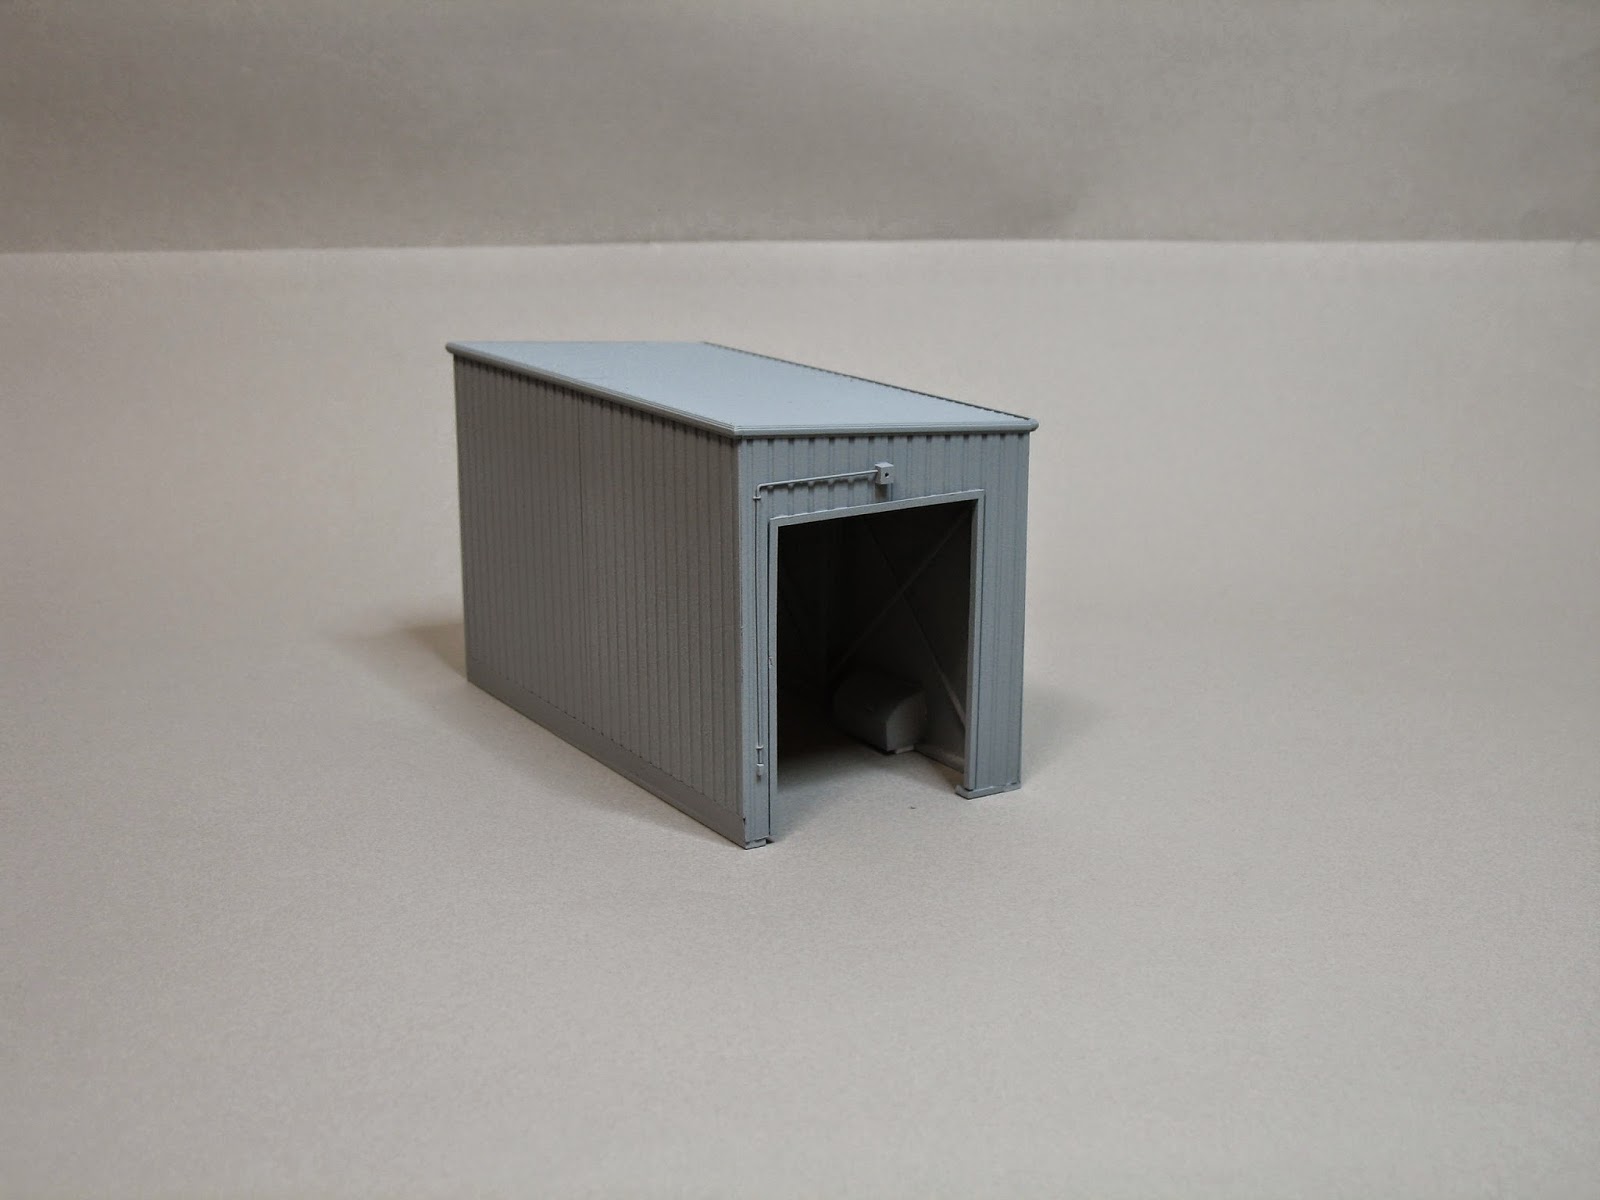
The unloading shed was painted primer grey inside and out. A non-working light fixture will be attached just above the railcar doorway.


My good friend Jeff suggested I add some bracing to the interior. I like the results, thanks Jeff!


Next for this is weathering and signage.