Search This Blog

Saturday, January 10, 2015

Metro Concrete Company Part II

Progress on the storage silo has been on the safety cage and ladder to the top of the silo. I used 2 Tichy kits to get to the top. This is the first time I've built the Tichy kit and it was more challenging than I had expected. I attached the cage loops to the ladders first and then attached the bottom ladder to the silo by drilling small holes for a couple of very fine wire loops to secure the ladder to the side. Next the first platform was located and holes drilled for the wires to attach it. Then the second ladder and platform. The vertical straps of the safety cage (3 for each ladder) was glue to the support loops. Not an easy task and they are not straight, but there is nothing I can do about it now. I think the problem is that the cage supports are not all attached perpendicular to the ladder. Something to think about....


The last leg of ladder has yet to be installed. That will come after I attach the silo top. The top will have a railing around the perimeter.
Next to do is top railing, some exterior lighting and final assembly then primer.


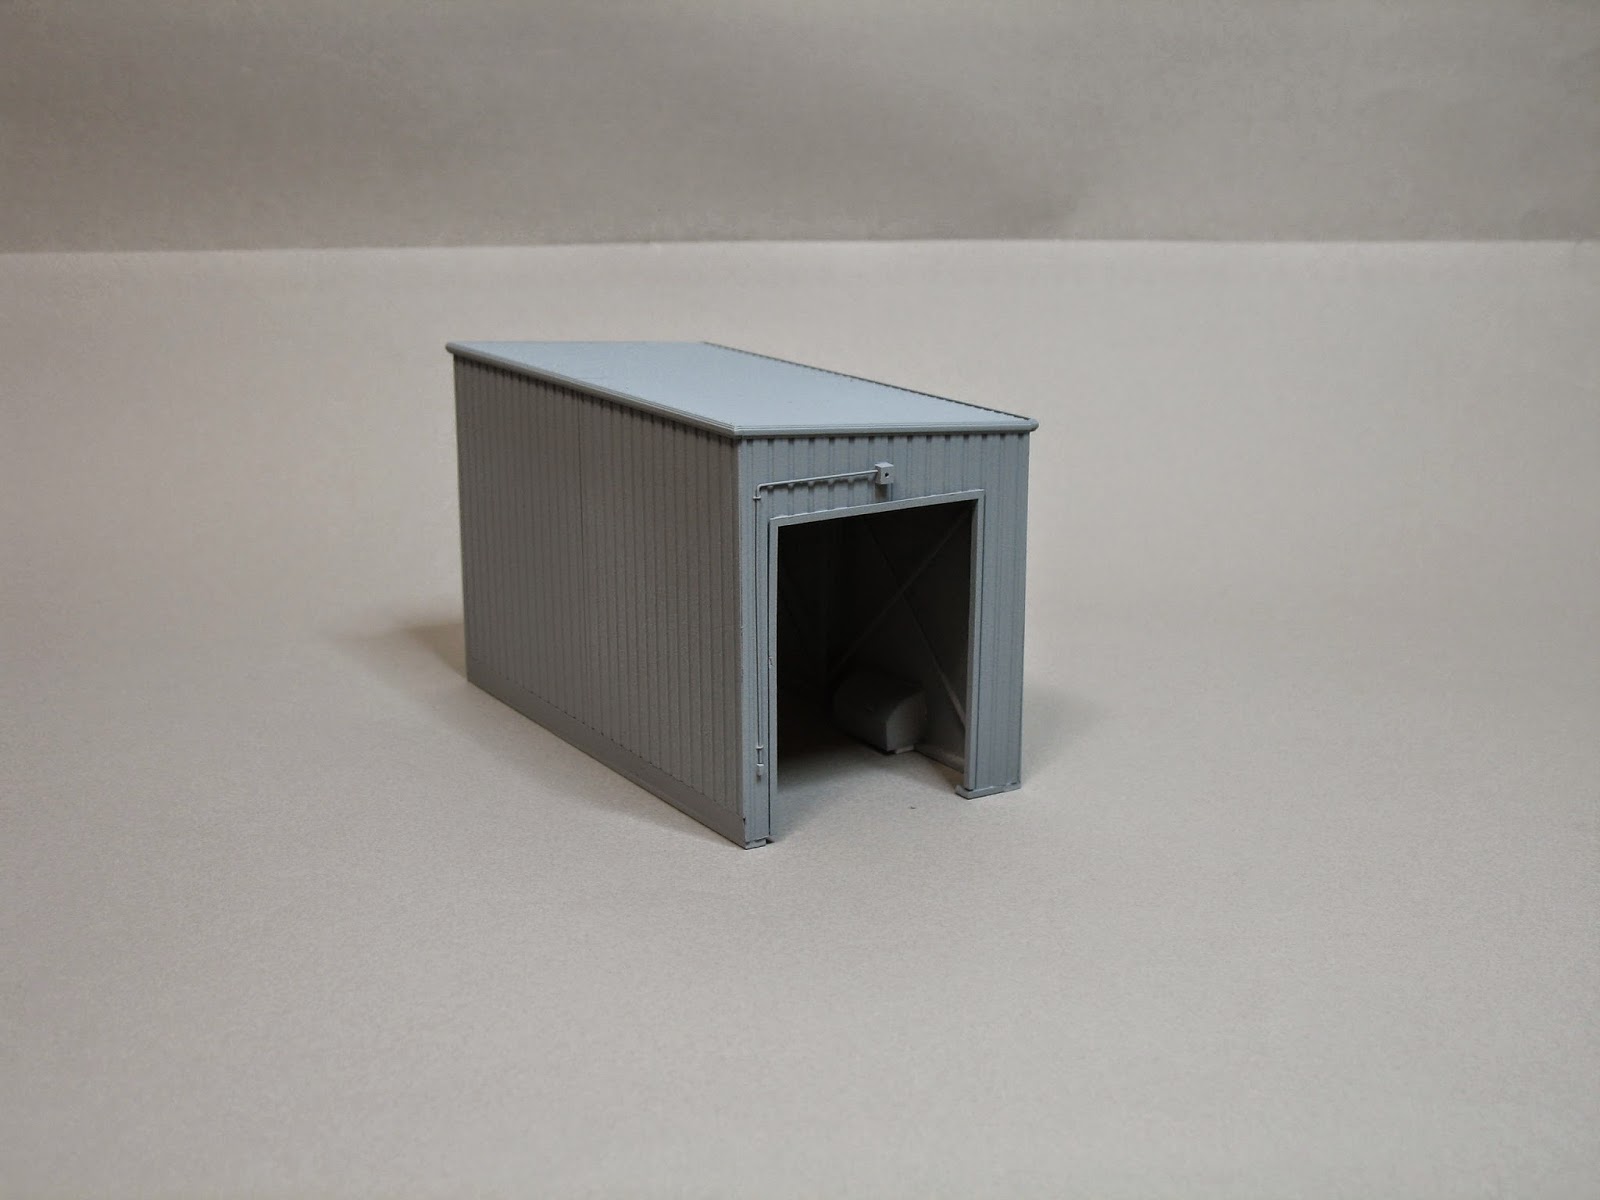
The unloading shed was painted primer grey inside and out. A non-working light fixture will be attached just above the railcar doorway.


My good friend Jeff suggested I add some bracing to the interior. I like the results, thanks Jeff!


Next for this is weathering and signage.


Saturday, December 27, 2014

Metro Concrete Company

I have decided to name the cement mixing company on the Waterfront scene "Metro Concrete", and I needed a title for this post, so there it is.

There will be a large model train show in Raleigh next month put on by "Worlds Greatest Hobby" on tour. And since my modules will be in a layout at the show I needed to get off my ass and get stuff done.
The bulk cement storage structure is the last large piece I have needed to build for the Metro Concrete Company complex. The concrete mixing building was finished a couple of years ago and I've been trying to find a prototype structure that I liked and that I could build. I don't like the Walthers structures that I could have used as a starting point because they are so boring, and everyone has one. I finally found a great prototype in "Model Railroader's Guide to Industries Along the Tracks # 3". This publication has a chapter on the Cement industry, and on page 24 there is a photo of a concrete company with a cement storage structure that is the inspiration for what I am building. The structure is a tall steel silo that has a passageway through the bottom for loading transport trucks.

 In the above image is a preliminary mockup. The existing mixing building  is on the left and the mockup storage structure is on the right. I placed a couple of covered hoppers and the transport truck in the scene the check for proper location. The location has to accommodate three issues. First; the rail siding angles toward the module edge from left to right. So if I place the structure to far to the right, it will be to close the the module edge. Second; the transport trucks could approach the storage silo from the same driveway that accesses the mixing plant and need to be able to straighten out the trailer before entering the silo for loading. This limits how far to the left I can place the structure.
Lastly, I want to be able to park a minimum of three covered hoppers on the siding, with one of them parked in the covered shed.


This image was taken today, I've made a lot of progress this week. The railing on the elevator platform is made from Phosphor Bronze wire that I soldered together. The elevator is leftover from the Walthers "Blue Star Cement" which was the starting point for the mixing building. The silo is made from a RIX 60' oil tank. I cut in the opening for the trucks and added the reinforcing made from Evergreen structural shapes. The concrete platform within the silo is made from wood and is part of a wood frame I built to support the silo when it is attached to the module. Because the module is transported on its side the silo needed some framing inside so as to not break off. The interior platforms contain T nuts that will receive screws for securing the structure to the module. The curved stairway and platform are from Tichy, which buy the way is great stuff. To bend the stairway I cut off the side rail of the steps on the side that would be on the inside. Then I glued on a new side rail of the curved shape I wanted.
The remaining details left to add are the safety cage and ladder to the roof (also a Tichy kit) and a railing around the top. Then a couple a nonworking exterior lights, they come with the Tichy stairs.


Here is the silo with the unloading shed. The shed is made from the leftovers of a Pikestuff kit.
Of course painting is needed and I'm leaning toward white with the word "METRO" placed vertically on the silo in large red letters.


Another scene image of the complex. When finished, I will install a row of wood poles between the storage silo and the mixing building. The poles will carry a pipe for transporting the cement powder to the mixing building.


Tuesday, April 15, 2014

A weekend of fun


On Thursday April 10 the NCS&SS and the Wilmington Railroad Museum set up their modular layout in the gym of a church activity center/school in Wilmington NC. I arrived at 1 pm and found the first vehicles having just started unloading.The last of the modules arrived somewhere between 2 and 2:30 pm. My modules were the last to be connected at 3:30 and the mainlines were declared tested and operational at 4 pm. Pretty darn good if you ask me.

Here is what 7000 sf of modular HO layout could look like.


A train traveling at about a scale 30 mph would take about 15 mins. to travel the entire length of the mainline.
The layout was packed up and hauled home on Saturday afternoon. The next gig is in September near Charlotte NC.


Sunday, April 6, 2014

Sterling Salt

This will be my last post on the subject of weathering freight cars for a while. I'm kind of tapped out on weathering and am back in the mood for doing structures and scenery.

The model is an Atlas Trainman car I found at a trainshow last fall. I have added no details, and modified nothing. All I did was put about 8 hours into the weathering over a span of about 2 weeks.


I think this is my best work thus far.

Saturday, March 8, 2014

TLDX 7415 (Cargill) Part 1

I decided to do a posting with more detail on haw I am weathering my freight cars so here it goes.
I'm starting with TLDX 7415. This is an Athearn blue box kit from back when Dinosaurs walked the Earth. This might be an old Bev-bel custom car, could be stock Athearn, I really don't know. I applied some weathering with an airbrush years ago. A little on the body, but mostly on the trucks but the stock wheels have since been swapped out for metal Proto wheels which didn't receive weathering. The paint I used in the airbrush was Floquil, so I'll have to work over it because I can't remove it.
It's not a bad looking car, certainly looks better with some weathering than with none.

With the trucks removed you can see how nice and shiny the wheels are. The truck side frames are pretty bland, mono-color and lack detail.


After separating the wheels from the trucks I soaked the trucks in Dot 3 brake fluid to remove the paint. Then I washed them in warm soapy water and let them dry a few days. Then I applied small strips of masking tape over the axle holes on the inside of the trucks to keep out paint and anything that could fowl the axles. What you see above is the trucks with a coat of flat black automotive primer. the primer will improve the adhesion of the weathering powder to the sideframes. The wheel sets were also painted with primer.

These are the three Acrylic colors I will use to add rust to the car.
From left to right Raw Sienna, Burnt Sienna, and Burnt Umber.
The first color I apply is the Raw Sienna. It is a very good color for what you see when rust is discoloring paint from underneath. On the lower right of the car is a black stripe in the space between the airline and the bottom the the car side. I made the stripe with a fine tip black Sharpy marker. Unfortunately the marker was old and didn't apply an even layer of ink. I had to buy a new one to finish the job.


Here we have the layer of Burnt Sienna applied.


The next three images show the application of Burnt Sienna over the Raw Sienna then Burnt Umber over the Burnt Sienna using the dry brush technique. When I apply the darker color I start in the middle of an area with the Raw Sienna and work my way outward, blending the two colors and fading out with the darker color leaving the lighter Raw Sienna around the edges of the rusty area. I have a set of three brushes that I use exclusively for dry brushing. The brush handles are the same color but different from all the other brushes I have.


After the acrylic paint has dried I seal the car with Dulcoat to preserve what I have.


In this view I have added a thin wash of black using water mixable oil paint thinned with Windex then then dry again sealed with Dulcoat

I think all rollingstock looks best when photographed in it element.
I realize I don't have any images or information on how I weathered the trucks. I lost the images I had taken of the process so I'll have to do that again another time.


Sunday, February 2, 2014

Grime & Dirt VI and a lot of rust too

I was looking through some of my books on the Lehigh Valley RR and noticed how decrepit the company's hoppers were by the 1970's. The Lehigh Valley didn't buy modern 70+ ton hoppers because its coal shipping business had been dying since the 1950's and all they had left was a few old 2-bay hoppers. I have had this Athearn blue box hopper for a few years and the only weathering I had done was to beat up the top of the body. I decided to put a real harsh weathering job on this one with lots of rust. I decided not to replace the grabirons or stirrups with wire. This is kind of an experiment to see if a thorough weathering can make chunky details less noticeable. Here is the result, you be the judge.


I used some super fine polishing paper to remove some of the lettering from the car.


The rust is Acrylic paint. The first color I used was Raw Siena which is a very dark brownish yellow. You can see this color at the very edge if the rusty areas. The second color was Burnt Siena for that redish rust. The transition from Raw to Burnt Siena is easy to see in the upper left quadrant above the slope sheet in the first image. The last color is  Burnt Umber which is  a very dark brown. I like Burnt Umber for old pitted rust. All these colors blend together for what I think is a convincing rusty appearance.


For the couplers I apply the colors in reverse order, By using the Raw Siena last I can use it to highlight the edges and detail in the coupler and also create a dusty/rusty look.

Thursday, January 30, 2014

Grime & Dirt V

It has been an unusually cold winter for North Carolina. We usually get a a few weekends with temps in the upper 50's and even the low 60's but those days have been coming on week days and it cools off by the time I get home. The last two weeks have been so cold I can't even do any spray painting of sealing outside, which slow down even the weathering of rolling stock. As a result, any projects requiring the use of solvents are stopped cold (pun intended) and the weathering of freight cars has slowed greatly. I think if I change my weathering process a little and do some parts in larger batches (like Dullcoating and priming) then I'll have an inventory of cars waiting for drybrushing and or powders, both of  which I can do indoors.


The latest addition to the re-weathered fleet is this Western Maryland (Chessie System) covered hopper. This one was modestly weathered previously. I was able to remove most of the old weathering because I had used acrylic paint. I switched to acrylics for weathering about 15 years ago and I wish I had switched 20 years earlier. I can strip off acrylic based weathering with a Q-tip dipped in Isopropyl alcohol. The model is a stock Atlas RTR.


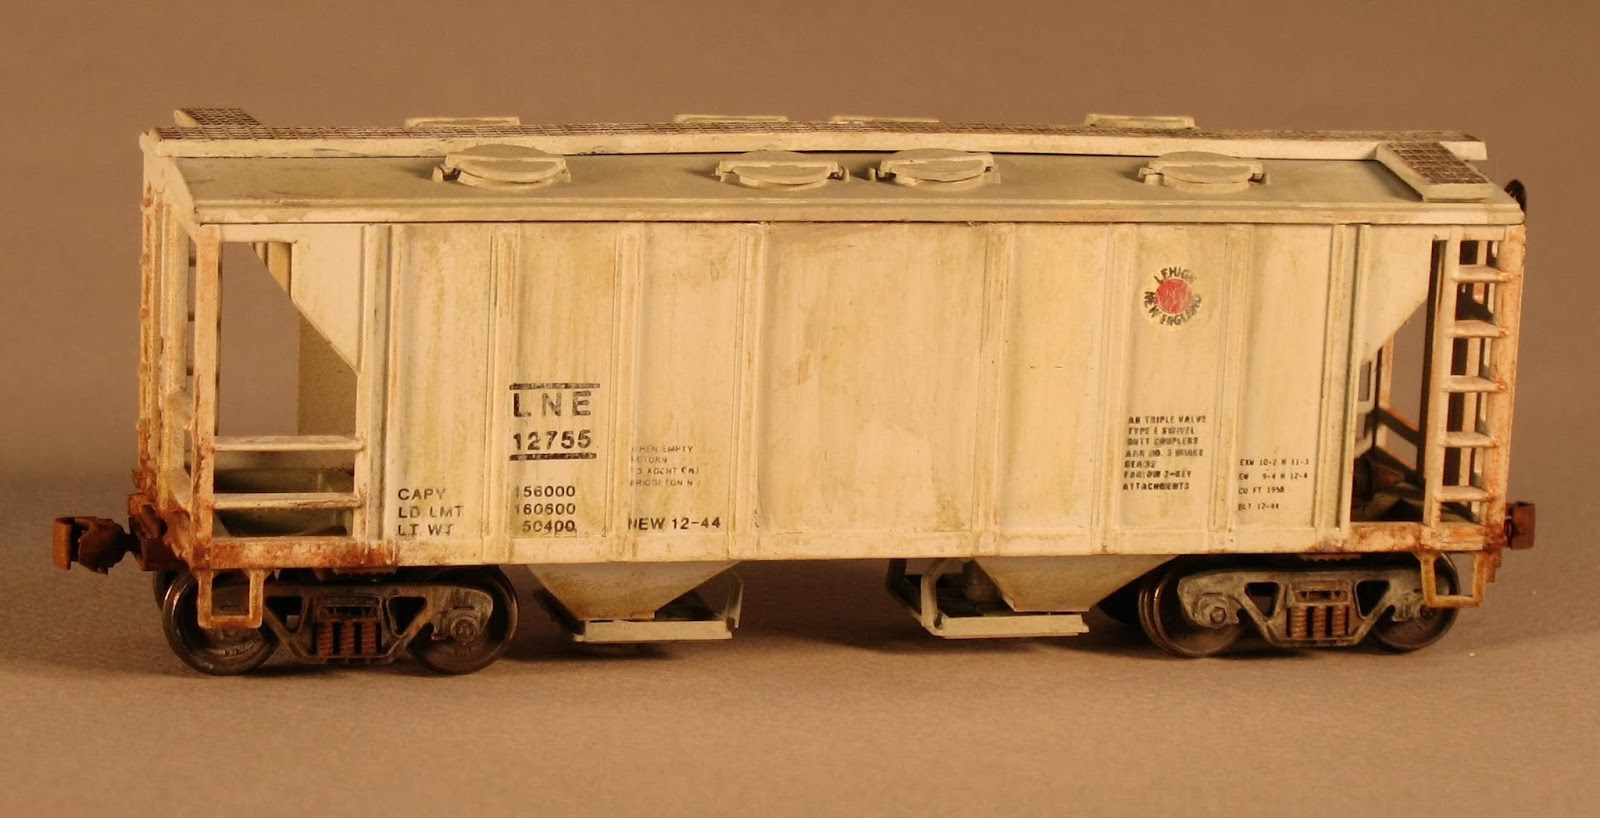
This Lehigh & New England is also a re-weather project. I removed most of the old weathering but not all of it would come off. In the end I think the remaining old weathering worked in my favor by adding some texture that I wouldn't and probably couldn't have added intentionally.


I have not added wire grab or stirrups and it's obvious in these images. The car also has a list which you can see in the above image. This is an old Roundhouse kit I built at least 25 years ago and I didn't mount the body to the frame properly. I can't correct the list without the risk of major damage to the body so I'll just leave it as is. If you were to see this car go by in a train you would likely notice it because of the weathering but not see the list and probably not the chunky details.


I picked up this car for $5 and it came with a 40' trailer too. What I really wanted was a flat car to use for drilling my carfloat and  got a trailer for free. I added plenty of weight to the underside before weathering. 


As nice as the wood deck is I would say this car has been re-decked within about 3 years or so. The Pennsy shops didn't bother with repainting though.